Two of the open questions in our research on 3D printed drone hulls were how to waterproof them, and how to get them to be hydro-dynamically smooth. While solvent fuming techniques do address both problems – there were a lot of drawbacks those techniques were not used in creating our larger hulls. In the end, for shallow water hulls, a combination of printing parameters and painting provided sufficient waterproofing.
Since the hulls were printed using FDM machines, there were tiny ridges in the outer surfaces. Of all the techniques experimented – the technique described here is what seemed to work the best for us. As the hull will be repeatedly sanded, and the goal is watertight barrier, we used 6 outer layers the prints. Also, as a warning, this generates a massive amount of particulate matter so must be done in a well ventilated area.
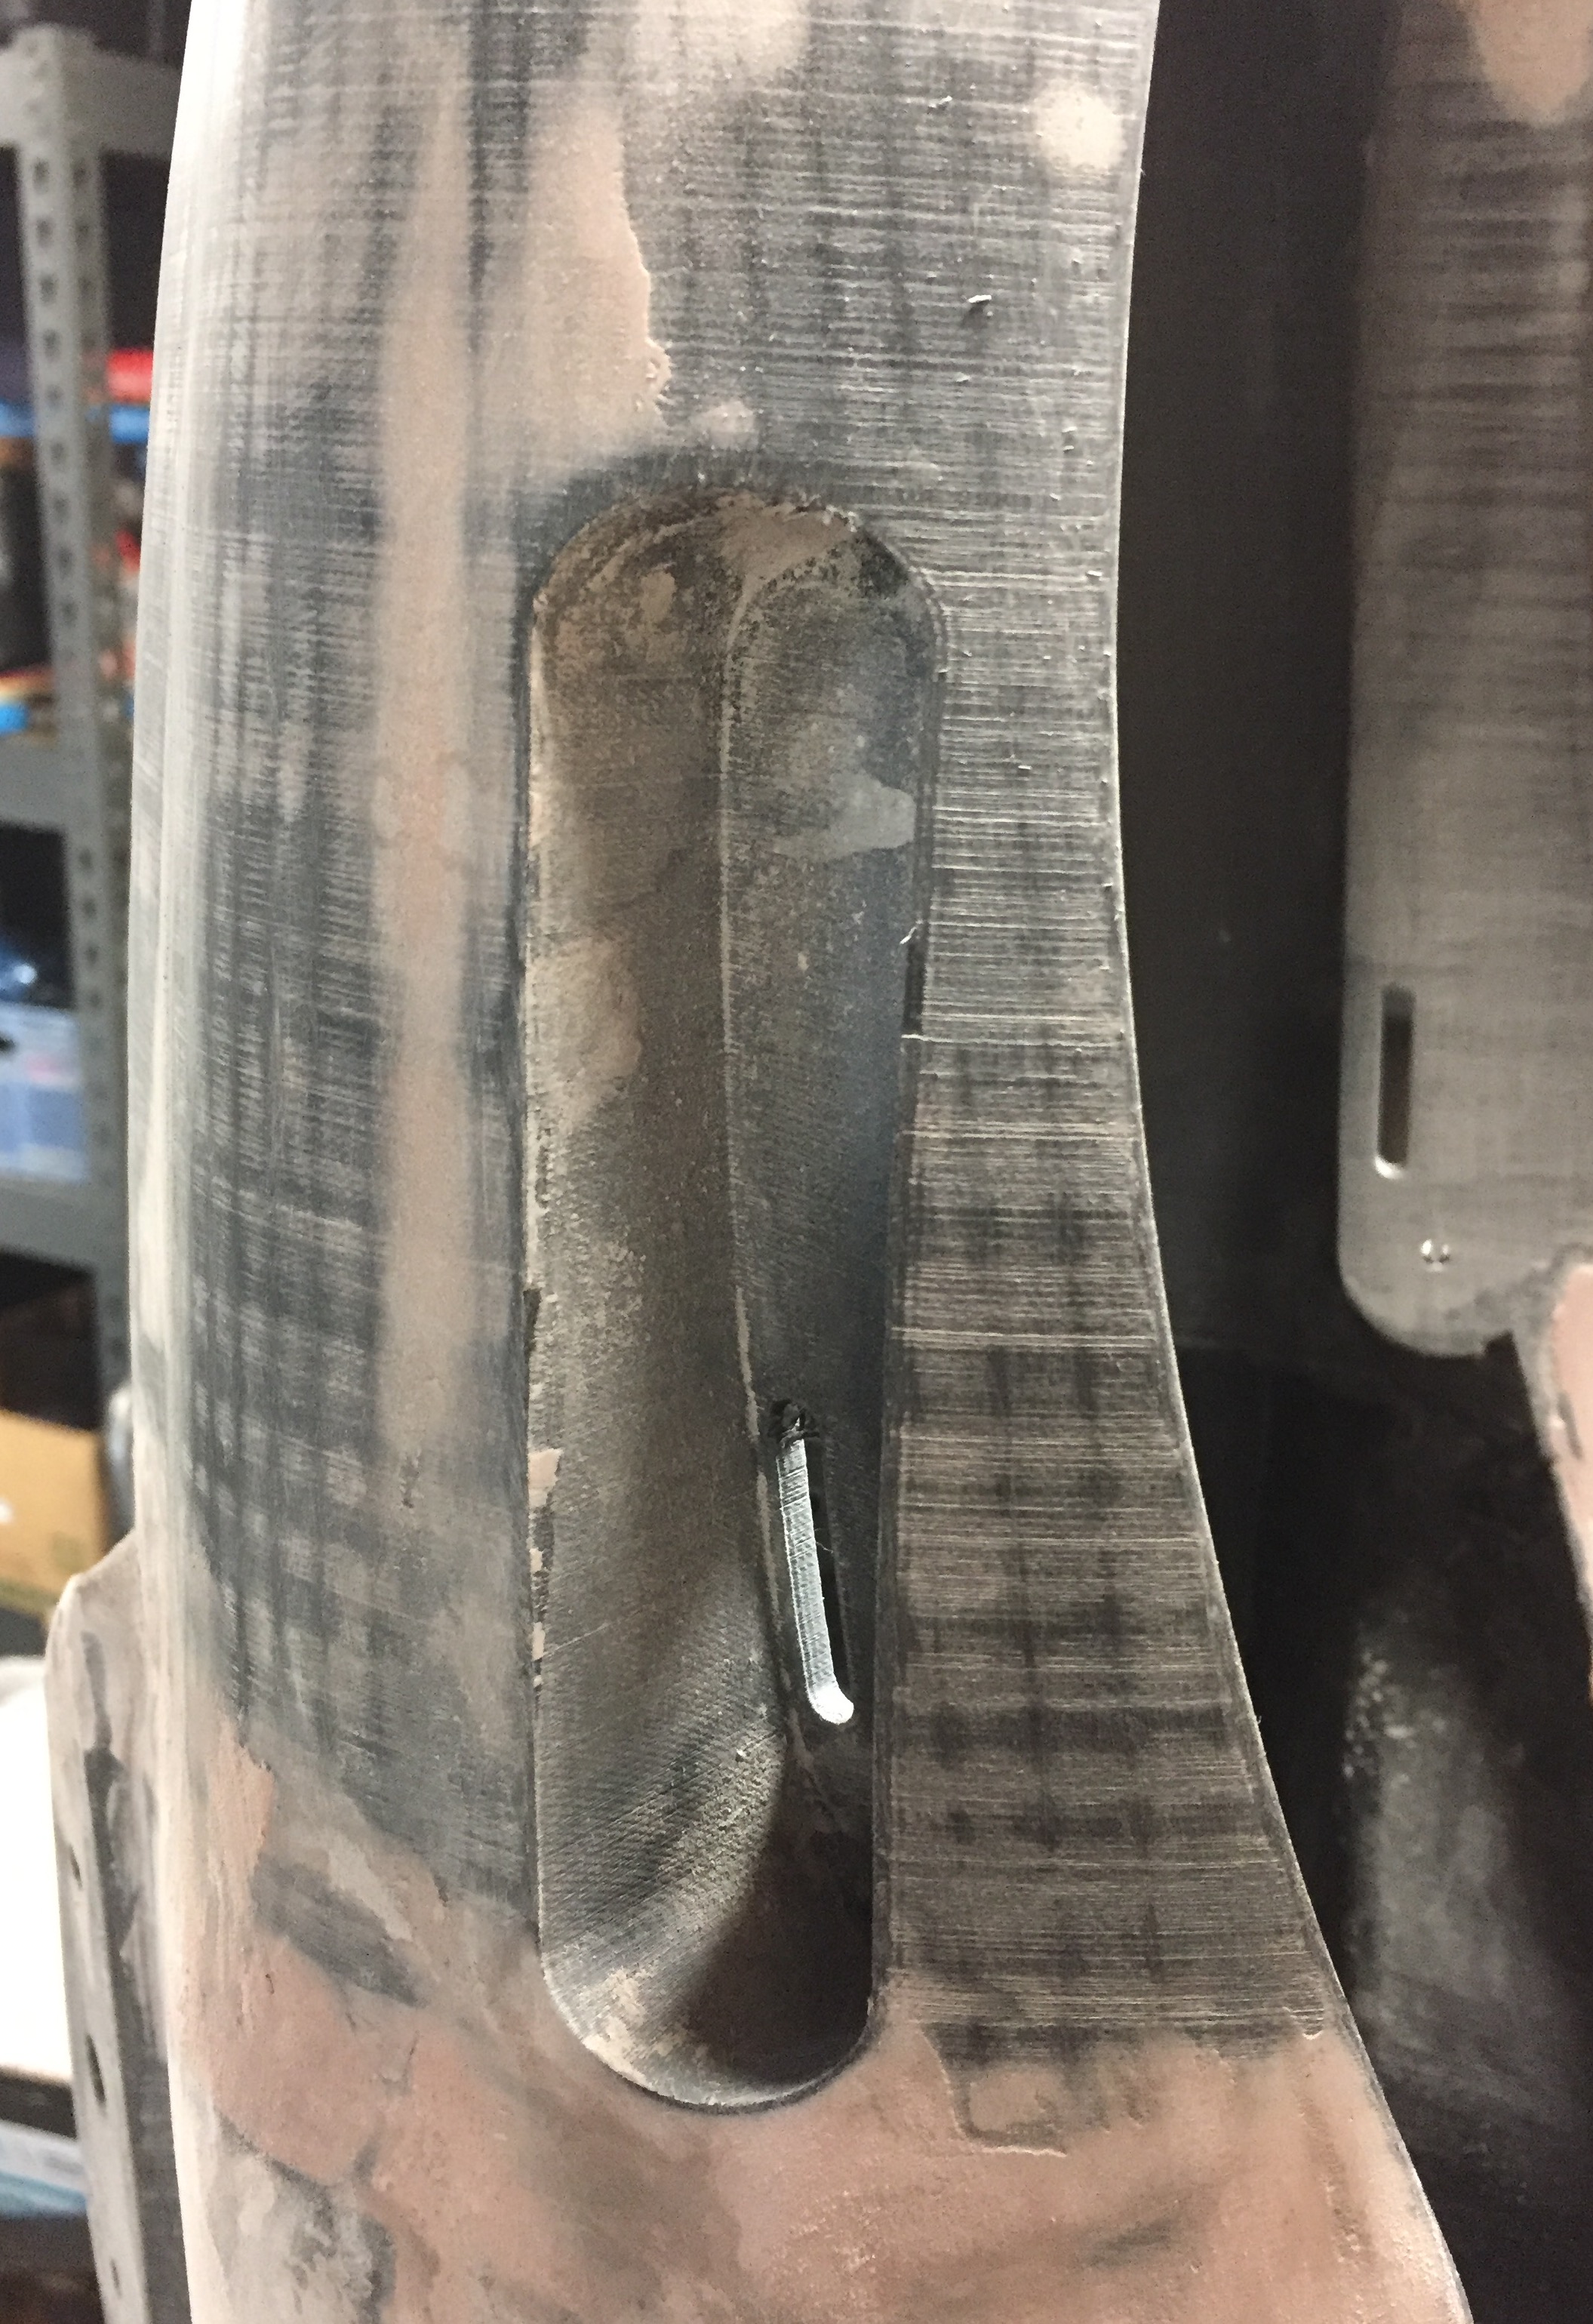
First, pre sand the hull. Then apply a body filler (such as the Bondo use pictured here). Heavier application around the inter hull piece glue points, and a skim coat over the rest of the hull as can be seen here. Then follow with several rounds of sanding the hull, and applying a spray on high build automotive body primer.
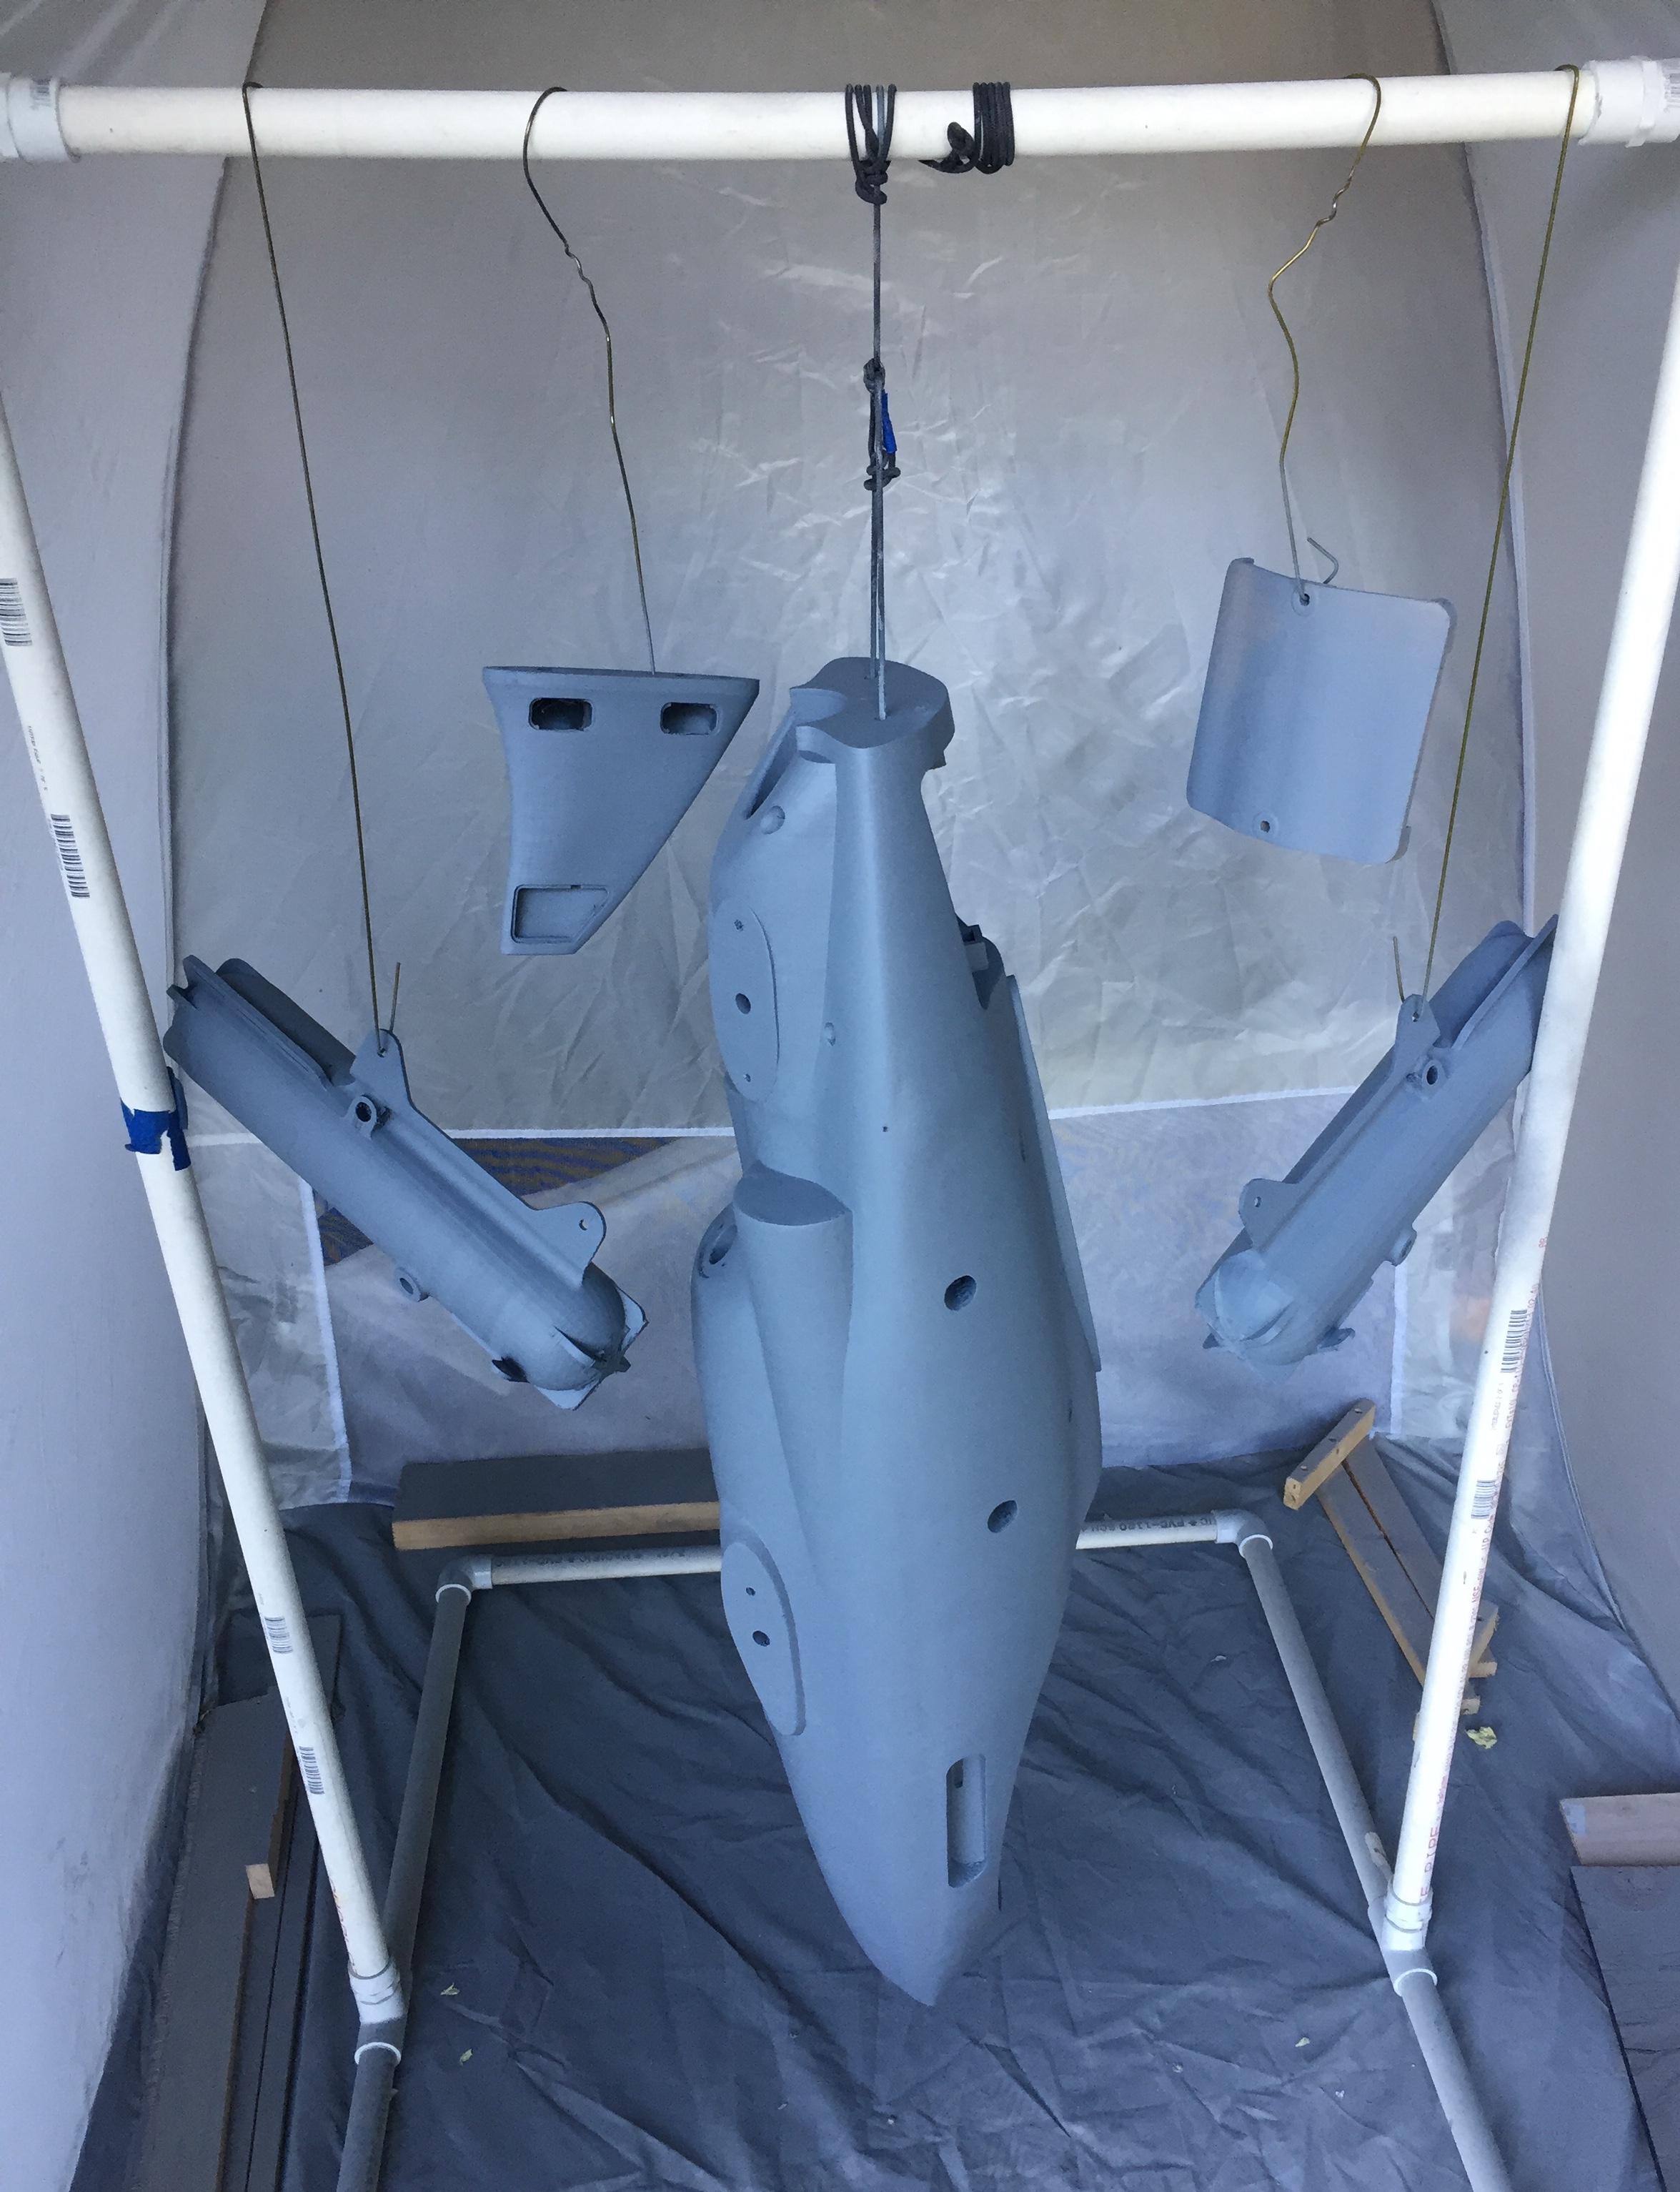
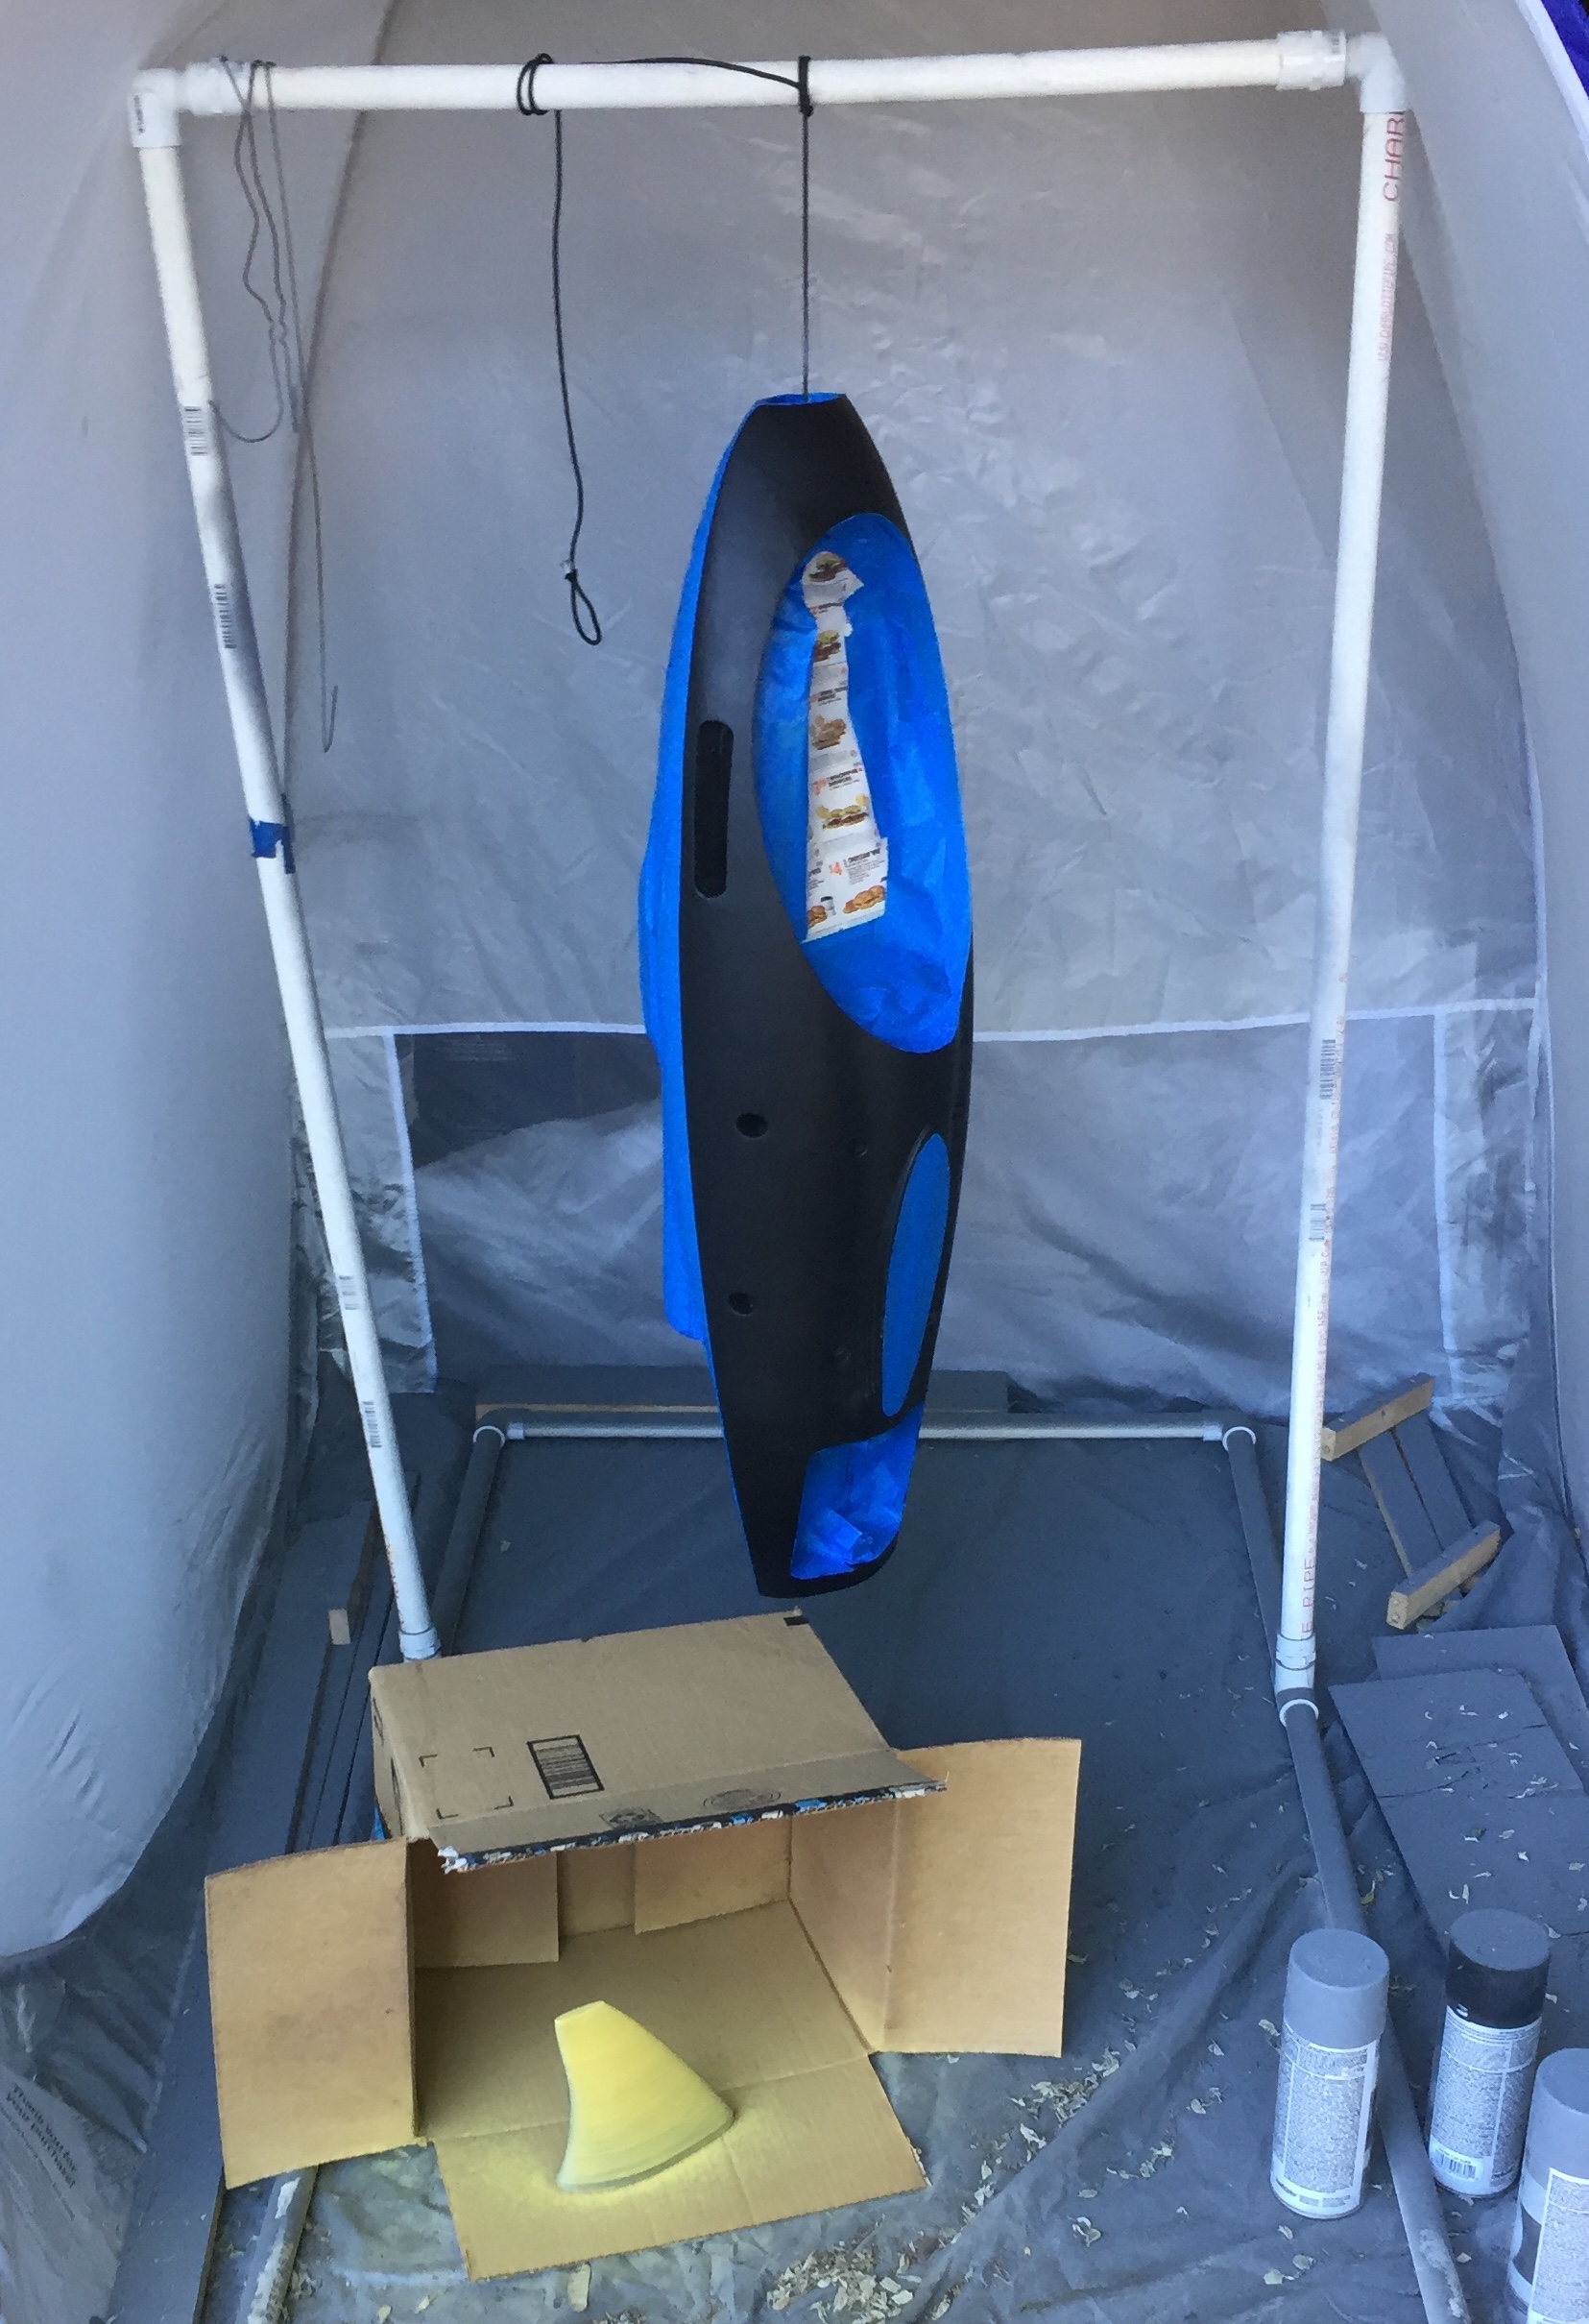
If you don’t have access to a proper paint booth for your painting large hulls (we didn’t), then the pop up paint booth tents you can buy for under $100 online work surprisingly well. We also recommend construction of some sort of painting rack to hang the parts on. The PVC pipe one pictured here worked for all our large parts. For painting smaller parts we recommend buying a “Lazy Susan” rotating kitchen platter. They trivialize the task of uniformly coating parts with sprayed on paints and enamels.
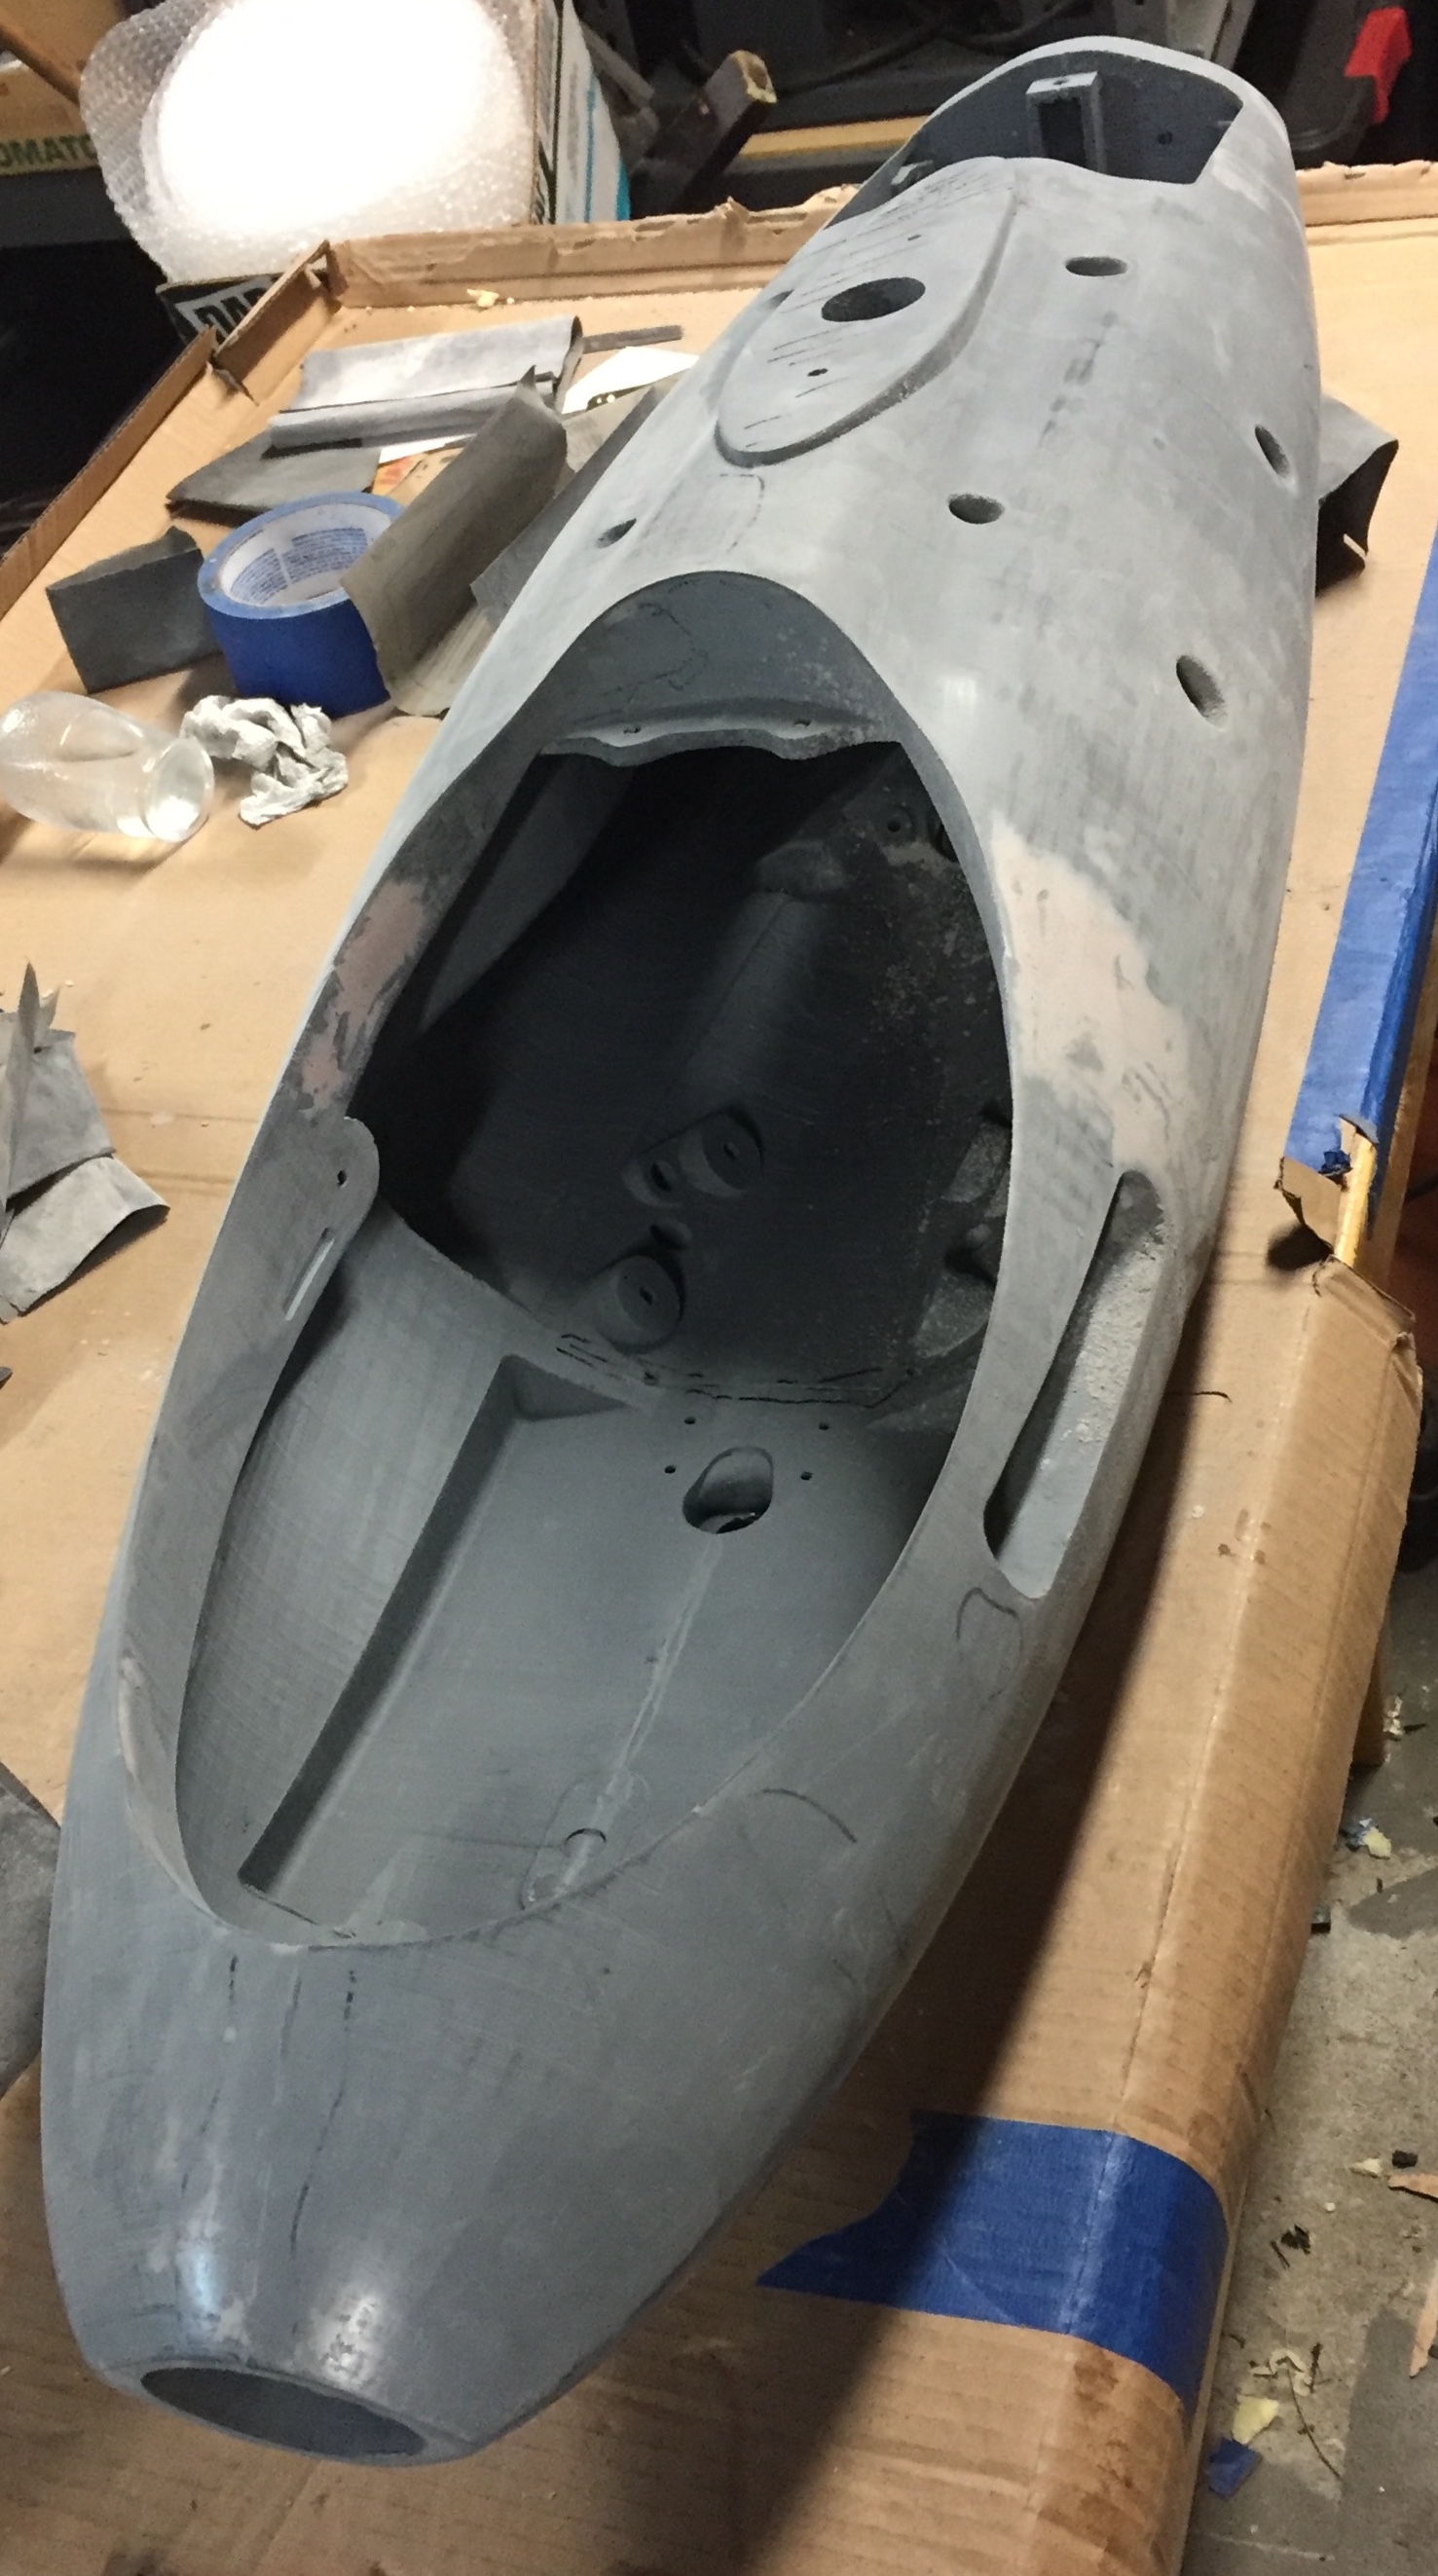
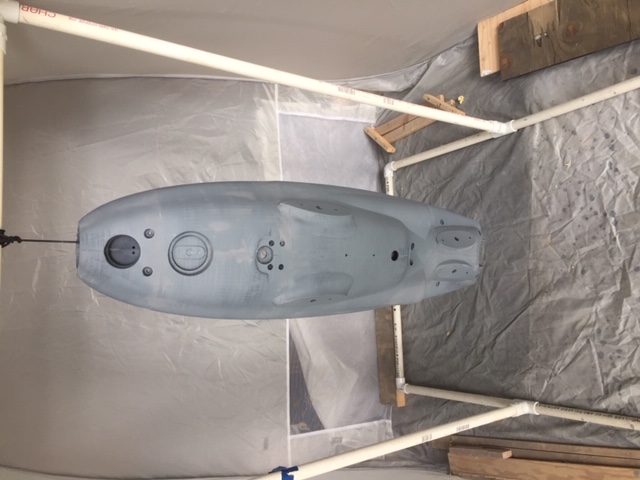
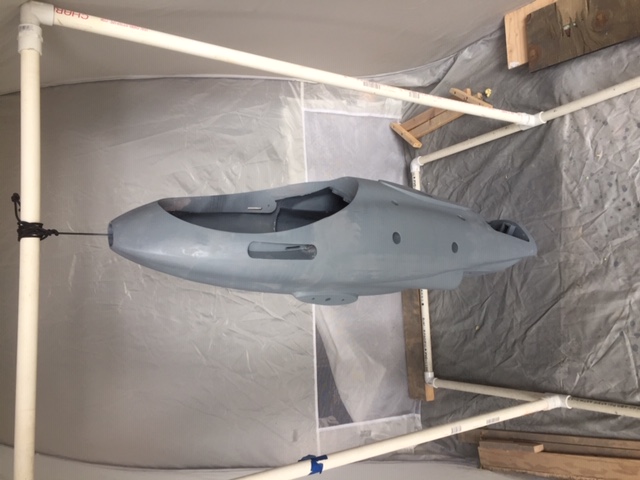
The hull pictured here was on its 3rd round of sanding. While we figured out a lot of ways to speed up the process – there is a lot of work that needs to still be don’t. It is still very labor intensive. The one thing everyone thinking of making his or her own hulls should know though – is “don’t skip on each sanding pass!” If you re-shoot the hull with high build primer, before you have reached the smoothest surface you can at the current grit of sanding, then you are just going to have to sand off everything you just applied before you can start improving the base for your final layer.

After the surface is prepared, application of the paint and enamel coat(s) are fairly straightforward. We did not find we needed any new techniques for either masking or application of paint or enamels. Enamel paints make a huge and obvious difference in how water beads up and rolls off the hull. How this quantifiably translates hydrodynamical still needs to be studied. Adding an extra 2-3 layers of optically clear enamel over the paints helped with the ablation that occurs as the hulls are inevitably banged around getting into and out of the water, or encountering floating obstacles.
(Note: In case it is useful, we tested several paints – and the closest yellow we could find in small quantities to the classic marine research yellow was Dupli-Color EDA168707 Chrome Hot Rod Yellow )